“`html
The Irresistible Art of Crafting Loaf Slices: A Journey of Comfort and Flavor
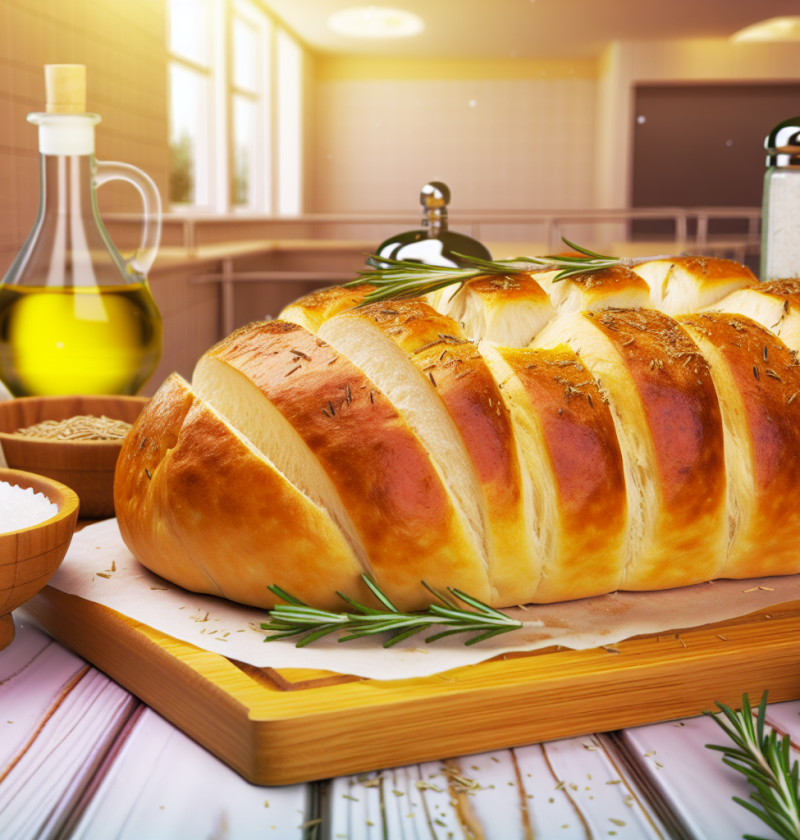
Let me take you on a delightful culinary adventure, where the humble slice of bread transforms into a work of art. Imagine the aroma wafting through your kitchen as a loaf rises perfectly, nurturing your senses and filling your home with warmth. Whether for a perfect toast, a robust sandwich, or simply enjoyed fresh out of the oven, these slices are a true testament to comfort and creativity. The great news is that you can reclaim the joy of baking your own loaf with minimal effort. In under 3 hours, starting from scratch, you’ll have the softest, most aromatic slices that not only taste heavenly but also fill your heart with nostalgia and pride.
Preparation Time
- Preparation Time: 30 minutes
- Rise Time: 1 hour and 30 minutes
- Baking Time: 30-40 minutes
- Total Time: Approximately 2 hours and 40 minutes
This recipe makes roughly 12 slices of delight, perfect for sharing with family or indulging in solo pleasures. It’s rated as easy, making it accessible for beginners and seasoned bakers alike.
The Necessary Ingredients
- 4 cups all-purpose flour (or gluten-free flour if needed)
- 2 teaspoons salt
- 2 tablespoons granulated sugar
- 2 teaspoons instant yeast
- 1 ½ cups warm water (110°F to 115°F)
- 2 tablespoons olive oil (or melted coconut oil for a distinct flavor)
- Additional toppings such as seeds or herbs (optional)
If you’re exploring a vegan version, omit the butter in favor of olive oil or a vegan butter substitute. For those with gluten sensitivities, substitute the all-purpose flour with a suitable gluten-free flour blend, ensuring to add a binding agent such as xanthan gum if necessary.
The Steps of Preparation
Crafting the perfect loaf is a simple yet rewarding process. Each step will guide you through, bringing you closer to that delightful moment of slicing into warm, fresh bread.
- In a large mixing bowl, combine the flour, salt, sugar, and instant yeast.
- Create a well in the center and add warm water and oil.
- Stir until a shaggy dough forms, then knead for about 10 minutes until it becomes smooth and elastic.
- Place the dough in a lightly greased bowl, cover with a clean kitchen towel, and let it rise in a warm place for about 1 hour or until it doubles in size.
- Once risen, punch down the dough and shape it into a loaf by flattening it into a rectangle and rolling it tightly.
- Place the loaf seam-side down into a greased 9×5-inch loaf pan.
- Cover and let it rise for another 30 minutes until puffy.
- Preheat your oven to 375°F (190°C) during the last 15 minutes of rising.
- Bake the loaf for 30-40 minutes until golden brown and sounds hollow when tapped on the bottom.
- Cool the loaf in the pan for 10 minutes, then transfer to a wire rack to cool completely before slicing.
As you follow these steps, allow the warmth and comfort of this process to envelop you. Each knead and rise is a moment woven into the story of your kitchen and your heart.
Nutritional Benefits
- Whole grains in bread contribute to heart health, lowering cholesterol levels.
- Rich in fiber, helping to aid digestion and promote satiety.
- The use of olive oil provides healthy monounsaturated fats, beneficial for cardiovascular health.
- Low sugar content makes it a favorable option for maintaining balanced blood sugar levels.
- Homemade bread lacks preservatives and artificial ingredients, ensuring pure goodness.
Nutrition plays a vital role in our lives, and homemade bread provides a wholesome option to nourish our bodies while indulging our palates.
Possible Additions or Upgrades
Elevate your loaf with these delightful additions, turning each slice into something extraordinary:
- Add herbs like rosemary or thyme for a savory touch.
- Incorporate nuts and seeds for added texture and nutritional benefits.
- Throw in some dried fruits or olives for a Mediterranean twist.
- Brush the top with melted butter or egg wash before baking for a glossy finish.
- Experiment with spices like cinnamon or nutmeg for a sweet touch.
These upgrades can infuse your loaf with unique flavors that delight every palate, making it a versatile staple in your kitchen.
Q&A
**Can I use bread machine for this recipe?**
Yes, a bread machine can be used for kneading and rising, following the manufacturer’s instructions.
**What is yeast and why is it essential?**
Yeast is a living organism that ferments sugars, producing carbon dioxide, which helps the bread rise, creating a light texture.
**Can I freeze the loaf?**
Absolutely! Ensure the bread is cooled completely and wrap it tightly with plastic wrap before freezing to maintain freshness.
**What if my dough doesn’t rise?**
It might be due to expired yeast or cold temperatures; try placing the dough in a warmer environment for a better rise.
**How do I know when the bread is done baking?**
The bread should be golden brown and sound hollow when tapped on the bottom.
**Can I use whole wheat flour instead?**
Yes, although it will produce denser bread; consider using half whole wheat and half all-purpose for a lighter texture.
**What is the best way to store homemade bread?**
Store in a cool, dry place in an airtight container or bag to keep it fresh for days.
**How can I make this gluten-free?**
Utilize a gluten-free flour blend and add a binding agent like xanthan gum for best results.
**Should I let the bread cool before slicing?**
Yes, allowing it to cool on a wire rack prevents moisture buildup, ensuring clean, even slices.
**How long does this bread last?**
When stored properly, it can last up to a week at room temperature, or longer when frozen.
I hope this recipe helps you bring the joy of homemade bread to your kitchen table! From my experience, sharing slices with family while enjoying their warmth and toasty aroma is a truly heartwarming experience. Don’t forget to share this treasure with your friends on social media and spread the joy of baking and nurturing hearts. Happy slicing!
“`