“`html
Discover the Secret Behind Perfectly Sliced Homemade Bread: How Many Slices Should You Expect?
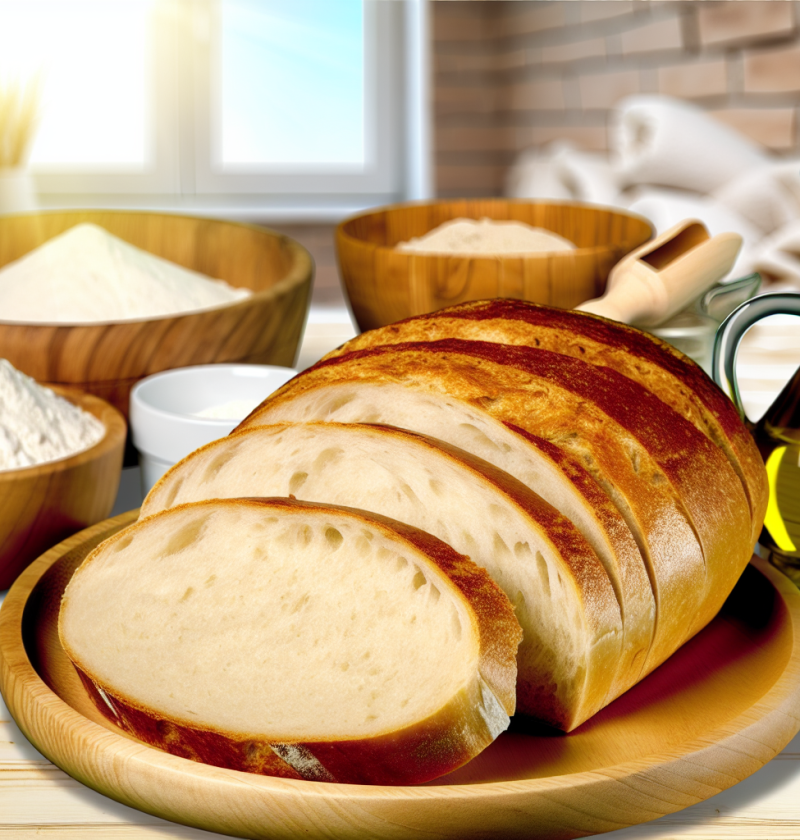
Imagine opening your oven to a warm, golden loaf of bread, the aroma wafting through your kitchen, drawing you and everyone nearby into a state of blissful anticipation. Homemade bread holds an enchanting power that store-bought varieties just can’t compete with. Not only is it a delightful experience to see, smell, and taste, but there’s also something incredibly rewarding about crafting a beautiful loaf from scratch. Join me as I explore the art of homemade bread, perfecting those quintessential slices we all adore. In this recipe, you’ll discover just how many slices each loaf can yield depending on the size and method, along with plenty of tips for achieving that perfect slice! Get ready for a baking adventure!
Preparation time:
- Preparation: 15 minutes
- Rising: 1 hour (may vary based on environment)
- Baking: 30-40 minutes
- Total time: Approximately 1 hour 45 minutes
Preparation Details
This recipe can serve around 8-12 people, depending on how liberally you slice the loaf. I would rate the difficulty as easy for enthusiastic beginner bakers and more experienced ones will find it an enjoyable pastime as well.
The Necessary Ingredients
- 4 cups of all-purpose flour (or gluten-free flour blend)
- 1 packet of active dry yeast (2 ¼ teaspoons)
- 1 ½ cups of warm water (105°F to 110°F)
- 2 tablespoons of sugar (can substitute with maple syrup for a vegan option)
- 2 teaspoons of salt
- 2 tablespoons of olive oil (substitute with melted coconut oil for a vegan option)
If you’re looking for a vegan version, simply replace the sugar with maple syrup and ensure your oil is plant-based. For gluten-free enthusiasts, opting for a gluten-free flour blend will create an equally delightful loaf. Just ensure your yeast is certified gluten-free as well!
The Steps of Preparation
Preparation is crucial in bread-making, and following these steps will lead you to a successful loaf. Let’s transform simple ingredients into a magnificent centerpiece for any meal!
- In a large bowl, combine warm water, sugar, and yeast. Allow it to sit for 5-10 minutes until frothy.
- Gradually add flour, salt, and olive oil to the yeast mixture.
- Knead the dough on a floured surface for about 10 minutes until smooth and elastic.
- Place the dough in a greased bowl, cover, and let it rise in a warm environment for about 1 hour, or until it has doubled in size.
- Preheat your oven to 375°F (190°C) during the last 15 minutes of the rising time.
- Punch down the dough and shape it into a loaf. Place it in a greased loaf pan.
- Cover and let it rise again for about 30 minutes.
- Bake in the preheated oven for 30-40 minutes, or until the top is golden and sounds hollow when tapped.
- Allow the bread to cool in the pan for a few minutes before transferring it to a wire rack.
- Once cool, slice and enjoy your perfectly homemade bread!
Nutritional Benefits
- Whole grain flour boosts fiber content, aiding in digestion.
- Active dry yeast is a source of B vitamins, beneficial for energy metabolism.
- Olive oil contains healthy fats known to support cardiovascular health.
- Freshly baked bread can contain no preservatives, making it a wholesome option.
- The longer the dough can rise, the more depth of flavor and nutrition develop.
Now that we have our wholesome recipe down, let’s explore some delightful additions and upgrades to take your bread to the next level!
Possible Additions or Upgrades
- Add herbs such as rosemary or thyme for heightened aroma and flavor.
- Incorporate seeds like sesame or chia for added crunch and nutrition.
- Mix in nuts or dried fruits for a touch of sweetness and texture.
- Experiment with different flours like rye or whole wheat for distinct flavors.
- Top with a sprinkle of sea salt just before baking for an artisan touch.
As I reminisce about my numerous baking sessions, I encourage you to embrace this recipe. Experiencing that first slice of warm, homemade bread evokes sweet family memories — from cozy dinners to impromptu gatherings, there’s something so genuine about sharing a loaf that truly resonates with everyone. Now, let’s dive into some common queries I’ve encountered!
Frequently Asked Questions
**Can I use instant yeast instead of active dry yeast?**
Yes, you can directly add instant yeast to your dry ingredients without proofing in warm water.
**How can I store the leftover bread?**
Store the bread in an airtight container at room temperature for 2-3 days, or freeze for longer storage.
**Can I add whole grains to the flour?**
Absolutely! A blend of whole wheat and all-purpose flour adds nutrition and flavor but may slightly alter the texture.
**Is it necessary to knead the bread?**
Kneading helps develop gluten, providing structure. If using a stand mixer, kneading time will be reduced.
**What can I do if my dough doesn’t rise?**
Ensure your yeast is fresh; also, make sure the environment is warm enough for rising.
**Can this recipe be made into rolls instead of a loaf?**
Certainly! Shape the dough into rolls and adjust baking time to around 20-25 minutes.
**What is the best way to slice the bread?**
Using a serrated knife works best to prevent squashing the loaf while cutting.
**Can I make this dough in advance?**
Yes! Allow it to rise, then refrigerate overnight. Bring to room temperature before baking.
**Is it possible to add spices to the dough?**
Definitely! Experiment with garlic powder, onion powder, or your favorite spices for unique flavor profiles.
**Why does my bread have a dense texture?**
This can occur due to over-kneading, insufficient rising, or too much flour. Adjust accordingly in future batches.
If you enjoyed this recipe and feel inspired to share the joy of homemade bread, I encourage you to spread the love! Share this recipe on your social networks and invite your friends to join in on the baking experience. Happy baking!
“`