“`html
Unlock the Secret: Discover How Many Slices Are in a Loaf
Have you ever wondered how many delectable slices of joy each loaf of bread yields? Well, you’re in for a treat! This intriguing exploration will not only charm your taste buds but also lighten your kitchen endeavors. Preparing bread can truly be an art form, and knowing how many slices you can create is a crucial part of that journey. Each slice represents a perfect blend of flavor and texture, waiting to be transformed into mouth-watering sandwiches or enjoyed with your favorite spreads. Prepare to dive into the world of loaves, as I share my tried-and-true methods for crafting wholesome bread, ideal for nourishing both body and soul.
Preparation Time
- Total Time Needed: 3 hours
- Hands-On Time: 30 minutes
- Resting Time: 2 hours
- Baking Time: 30 minutes
This recipe is suitable for 8 to 12 slices depending on the thickness you desire, and it hovers in the realm of easy to medium difficulty. No need to feel daunted by the idea of baking your own bread—once you get the hang of it, you’ll be savoring fresh slices in no time!
The Necessary Ingredients
- 4 cups all-purpose flour (substitute with whole wheat for a heartier texture)
- 1 tablespoon sugar (or honey, for a more natural sweetness)
- 1 tablespoon salt
- 2 teaspoons active dried yeast
- 1 ½ cups lukewarm water (or non-dairy milk for a vegan alternative)
- 2 tablespoons olive oil (optional, for richness)
- Seeds or nuts (optional, for added texture)
For those who prefer a gluten-free version, you can substitute the flour with a gluten-free flour blend and be sure to include xanthan gum to help bind the dough together. It can also benefit from additional nutrition by tossing in seeds or even dried fruits for a delightful twist!
The Steps of Preparation
By following these simple yet detailed steps, you’ll be well on your way to slicing into your very own loaf of joy.
- In a large bowl, combine the warm water and sugar, followed by adding the yeast. Allow it to activate for about 10 minutes until frothy.
- Add flour, salt, and olive oil to the yeast mixture. Stir until combined.
- Knead the dough on a floured surface for about 8-10 minutes until smooth and elastic.
- Form the dough into a ball and place it in a lightly oiled bowl, covering it with a damp cloth. Allow it to rise in a warm place for 1 hour, or until it has doubled in size.
- Once risen, punch the dough down gently to release air bubbles, and shape it into a loaf.
- Place the loaf in a greased bread pan or on a baking sheet lined with parchment paper.
- Cover the loaf loosely with a cloth and allow it to rise again for another 30-45 minutes.
- Preheat your oven to 375°F (190°C). Once preheated, bake the loaf for 30 minutes, or until golden brown on top.
- Remove from the oven and let cool for 10 minutes before slicing into it.
- Enjoy each slice warm, toasted, or as the base for your favorite sandwich creations!
Nutritional Benefits
- Rich in carbohydrates, providing a quick energy source for your day.
- Whole grain options boost fiber content, aiding in digestion and promoting a healthy gut.
- Contains protein from flour, essential for muscle repair and growth.
- Olive oil adds healthy fats, contributing to heart health.
- Honey or sugar provides natural sweetness with additional minerals and antioxidants (in moderate amounts).
The nutritional benefits of baking your own bread can be truly rewarding. In each bite, you’ll find a balance of macronutrients that support a healthy lifestyle.
Possible Additions or Upgrades
Feel free to get creative by adding flavorful twists to your loaf. Here are some ideas:
- Incorporate herbs like rosemary or thyme for an aromatic experience.
- Add a handful of cheese for a savory delight.
- Include spices such as cinnamon or nutmeg for a sweet variant.
- Fold in cooked grains like quinoa for added texture and protein.
- Mix in dried fruits like cranberries or raisins for a sweet burst.
Each addition reflects personal preferences and transforms your bread experience into something uniquely yours. It’s a wonderful opportunity to experiment and delight in the process of baking!
Q&A
**How many slices are typically in a loaf of bread?**
It depends on the thickness you cut, but generally, you can expect about 8 to 12 slices from a standard loaf.
**Can I use whole wheat flour instead of all-purpose flour?**
Absolutely! Whole wheat flour will yield a denser loaf, packed with extra nutrients.
**What can I use if I don’t have yeast?**
You can use baking powder in some recipes, but the texture will differ as yeast helps with rising and flavor development.
**Do I need to let the dough rise twice?**
Yes, the initial rise creates air pockets that contribute to the bread’s texture, and the second rise ensures it maintains that fluffiness while baking.
**How can I keep my loaf fresh?**
Wrap cooled slices in plastic wrap or store in a breadbox. You can also freeze them for longer shelf life.
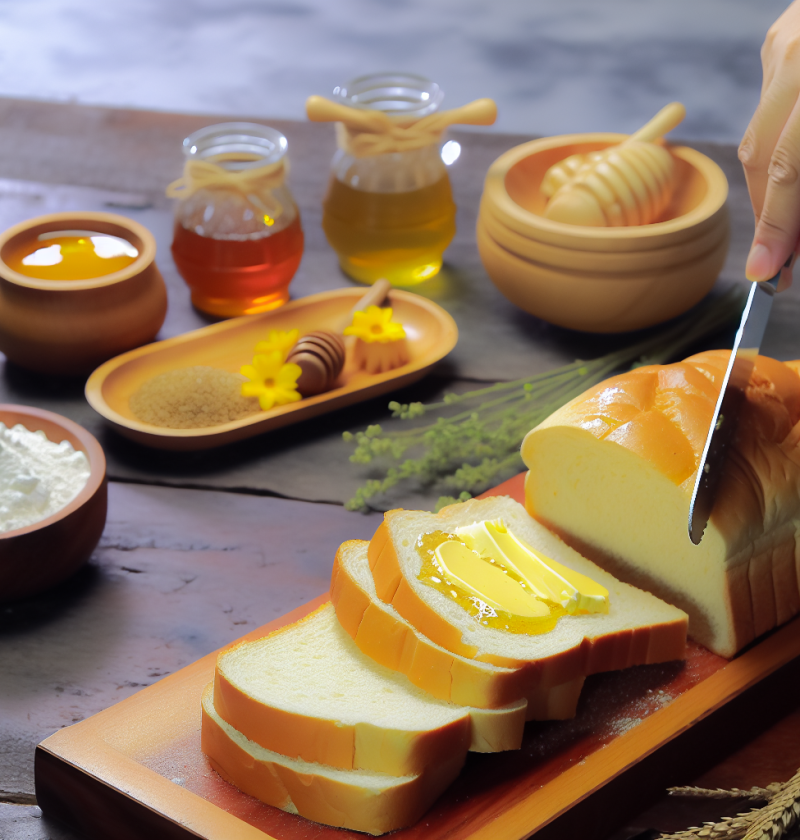
**What is the best way to slice bread?**
Using a serrated knife will give you the cleanest cuts, ensuring your slices are even and beautiful.
**What if my dough doesn’t rise?**
It might be due to the yeast being inactive. Make sure to check your expiration dates and ensure the water isn’t too hot or too cold when activating the yeast.
**Can this recipe be adapted for an air fryer?**
Yes! You can shape the dough into smaller loaves and place them in your air fryer basket, adjusting the cooking time to about 20 minutes at 350°F.
**How long can I store the bread?**
Homemade bread stays fresh for about 3-5 days at room temperature or up to 3 months in the freezer.
**Is this recipe suitable for beginners?**
Yes! With simple ingredients and straightforward steps, this recipe is perfect for anyone looking to start baking their own bread.
As someone who delights in the warmth of freshly baked bread, I can tell you that each slice tells a story—stories of family gatherings, quiet mornings, and indulgent evenings. This recipe isn’t just about the ingredients; it’s about the experiences shared over a loaf you made with your own two hands. So gather your ingredients, follow these steps, and soon you’ll be savoring and sharing the wonderful, warm creations. Don’t forget to snap a picture and share your bread-making journey with friends and family on social media! Spread the joy of baking!
“`