“`html
The Secret Behind Slicing the Perfect Loaf: Discover How Many Slices of Bread to Expect!
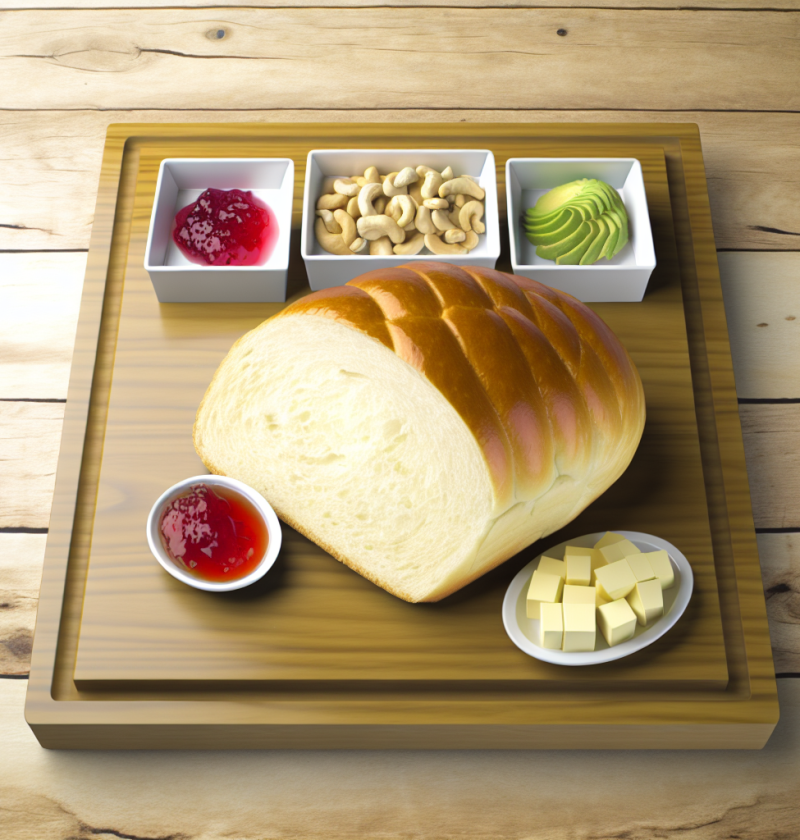
Have you ever stood in front of a freshly baked loaf of bread, eagerly anticipating how many slices you can savor? Imagine the delight that comes when you discover the perfect number of slices ready for your favorite spread or used in a delicious sandwich. Whether you’re making homemade bread for a family gathering or simply enjoying a cozy dinner at home, understanding the average number of slices in a loaf transforms the experience from mundane to magical. This knowledge not only enhances your baking but also elevates how you share love through food. In this delightful exploration, we delve into the variations in loaf sizes, shapes, and the wonderful world of bread-making. On average, a standard loaf can yield 16-20 slices, but variations abound based on the loaf type, size, and thickness!
Preparation Time
- Preparation: 15 minutes
- Baking: 30-40 minutes
- Cool Down: 30 minutes
- Total Time: Approximately 1 hour 15 minutes
For those looking to create a beautiful and perfectly sliced loaf, this recipe is designed for 8-10 people and is rated as easy in terms of difficulty. Let’s jump right into the necessary ingredients for this whimsical experience of delight!
The Necessary Ingredients
- 3 to 4 cups of all-purpose flour (or substitute with whole wheat flour for a heartier loaf)
- 1 packet (2 ¼ teaspoons) of active dry yeast or instant yeast
- 1 cup of warm water (can use plant-based milk for vegan options)
- 2 tablespoons of sugar or honey (or a sugar alternative like agave syrup)
- 1 teaspoon of salt
- 2 tablespoons of unsalted butter (or coconut oil for vegan)
For those with dietary preferences or restrictions, rest assured; you can adapt this recipe in various ways! For a gluten-free option, use a gluten-free flour blend. The vegan variant can easily replace dairy and eggs with plant-based alternatives.
The Steps of Preparation
Now, let us delve into the whimsical world of preparing your perfect loaf:
- In a bowl, combine warm water, sugar, and yeast. Let it sit for about 5-10 minutes until foamy.
- In a separate large mixing bowl, combine flour and salt.
- Add the yeast mixture and melted butter into the flour mixture.
- Knead the dough on a floured surface for about 10 minutes until smooth and elastic.
- Place the kneaded dough in a greased bowl, cover it with a clean cloth, and let it rise in a warm place for about 1 hour or until doubled in size.
- Punch down the dough to release air, then shape it into a loaf.
- Place the loaf in a greased loaf pan, cover it, and let it rise for another 30 minutes.
- Bake in a preheated oven at 375°F (190°C) for 30-40 minutes until golden brown and sounds hollow when tapped.
- Once baked, remove the loaf from the oven and let it cool in the pan for 10 minutes before transferring it to a wire rack.
- Slice and enjoy! Make sure to store it properly if not consuming all at once.
This step-by-step guide is designed to help you navigate from a simple mixture to a beautifully sliced loaf that is sure to bring joy and warmth to your kitchen.
Nutritional Benefits
- High in carbohydrates, providing energy for daily activities.
- Contains essential proteins that help with muscle repair and growth.
- Fibre-rich options (like whole wheat) promote digestive health.
- When using whole grains, it can lower the risk of heart disease.
- Low in calories when made with minimal sugar and fat.
Your bread can also become a canvas for creativity; consider the following additions to elevate your loaf:
Possible Additions or Upgrades
- Add dried herbs like rosemary or thyme for a fragrant touch.
- Incorporate nuts or seeds like sunflower or pumpkin seeds for extra crunch.
- Mix in dried fruits like cranberries or blueberries for a hint of sweetness.
- Experiment with spices such as cinnamon or nutmeg for unique flavor profiles.
- Create a swirl of pesto or sun-dried tomatoes in the dough before baking.
With these variations, each loaf becomes a unique masterpiece, ready to delight the senses and draw people around the table.
Q&A
**How do I know when the dough has risen enough?**
The dough should be doubled in size and look puffed up.
**Can I use bread flour instead of all-purpose flour?**
Absolutely! Bread flour will result in a chewier texture.
**What if I don’t have a loaf pan?**
You can shape the dough into a round or baguette and bake it directly on a baking sheet.
**How do I store my bread?**
Wrap in foil or plastic wrap and store at room temperature or freeze for longer shelf life.
**Can I use active dry yeast instead of instant yeast?**
Yes, but make sure to activate the active dry yeast beforehand as instructed in the recipe.
**What should I do if my loaf is too dense?**
It might be due to over-kneading or not enough rising time. Allow the dough to rise longer next time.
**Can I add other ingredients directly into the dough?**
Certainly! Feel free to fold in ingredients like cheese or vegetables before the first rise.
**Is it possible to make this in an air fryer?**
Yes! Shape your dough according to the air fryer basket size and bake at 320°F (160°C) for about 25 minutes.
**Can I make this ahead of time?**
You can prepare the dough and refrigerate it overnight for the first rise before shaping.
**What’s the secret to perfectly even slices?**
Use a serrated knife and let the bread cool completely before slicing for best results.
From my experience, nothing beats the warmth and joy that a freshly baked loaf of bread brings to any occasion. It’s like bringing together the heart of my home, nourishing not just our bodies but also our souls. I invite you to share this recipe with friends and family, letting the spirit of homemade goodness reach every corner of your community. Happy baking!
“`