“`html
Unveiling the Secrets: How Many Slices of Bread in a Loaf?
Have you ever marveled at the humble loaf of bread, wondering just how many delectable slices it holds within? Whether you’re a home baker or someone who loves the scent of freshly baked bread wafting through your kitchen, this is your ultimate guide to unlocking this culinary mystery. Dive right in, and let’s embark on this delicious journey together!
Preparation Time
- Preparation: 20 minutes
- Cooking: 30 minutes
- Cooling: 1 hour
- Total: 1 hour 50 minutes
The following steps will guide you through creating the perfect loaf, revealing the much-anticipated count of slices.
Ingredients
The necessary ingredients (possible in all kinds of variations).
- 3 1/4 cups all-purpose flour
- 1 packet (2 1/4 tsp) active dry yeast
- 2 tablespoons sugar
- 1 1/2 teaspoons salt
- 1 cup warm water (110°F)
- 1/2 cup milk (room temperature)
- 2 tablespoons unsalted butter (melted)
- Extra flour for dusting
For variations, you might consider altering the ingredients:
If you’re seeking vegan options, substitute dairy milk with almond or soy milk, and use coconut oil in place of butter. For a gluten-free version, replace all-purpose flour with a blend of gluten-free flours such as rice flour, tapioca starch, and xanthan gum.
Now that we have all the ingredients ready, let’s dive into the preparation steps.
Steps
The steps of preparation (possible in all kinds of variations).
- Bloom the yeast: In a small bowl, combine warm water, sugar, and yeast. Let it sit for about 5-10 minutes until frothy.
- Combine dry ingredients: In a mixing bowl, whisk together flour and salt.
- Add wet ingredients: Add the bloomed yeast mixture, milk, and melted butter to the dry ingredients. Mix until a dough forms.
- Knead the dough: On a floured surface, knead the dough for about 10 minutes until smooth and elastic.
- First rise: Place the dough in a lightly greased bowl, cover with a damp cloth, and let it rise in a warm place for about 1 hour or until doubled in size.
- Shape the dough: Punch down the dough to release air bubbles, shape it into a loaf, and place it in a greased bread pan.
- Second rise: Cover the loaf pan with a damp cloth and let it rise for another 30 minutes until it has risen to the top of the pan.
- Preheat the oven: Preheat your oven to 375°F (190°C).
- Bake the bread: Place the loaf in the preheated oven and bake for 30 minutes until golden brown and hollow-sounding when tapped.
- Cool the bread: Remove the loaf from the pan and let it cool on a wire rack for at least 1 hour before slicing.
The aroma from the oven is simply irresistible, isn’t it? Now, let us explore the nutritional benefits of this delicious homemade bread.
Nutritional Benefits
- Rich in Complex Carbohydrates: Provides lasting energy throughout the day.
- High in Fiber: Supports digestive health and helps maintain a healthy weight.
- Contains Essential Vitamins and Minerals: Flour provides iron and B vitamins, essential for numerous bodily functions.
- Lower in Additives: Homemade bread lacks the preservatives found in store-bought varieties.
There are endless ways to elevate your homemade bread. Let’s explore some exciting additions and upgrades to the recipe.
Possible Additions or Upgrades
- Add Seeds: Mix in or sprinkle on top chia seeds, sunflower seeds, or flaxseeds for added crunch and nutrients.
- Herbs and Spices: Give your loaf an aromatic twist by adding rosemary, thyme, or oregano to the dough.
- Sweeten It Up: Incorporate dried fruits like raisins, cranberries, or apricots for a sweet surprise.
- Cheesy Delight: For a savory treat, mix in shredded cheese such as cheddar or parmesan.
- Whole Grains: Substitute part or all of the all-purpose flour with whole wheat flour for a heartier loaf.
From my personal experience, the delight of slicing into a homemade loaf is truly unparalleled. Whether you’re enjoying it with butter, jams, or simply as is, it never fails to bring comfort and joy to your table.
Let’s go through some commonly asked questions to further enrich your bread-baking journey.
Q&A
How many slices are in a standard loaf of bread?
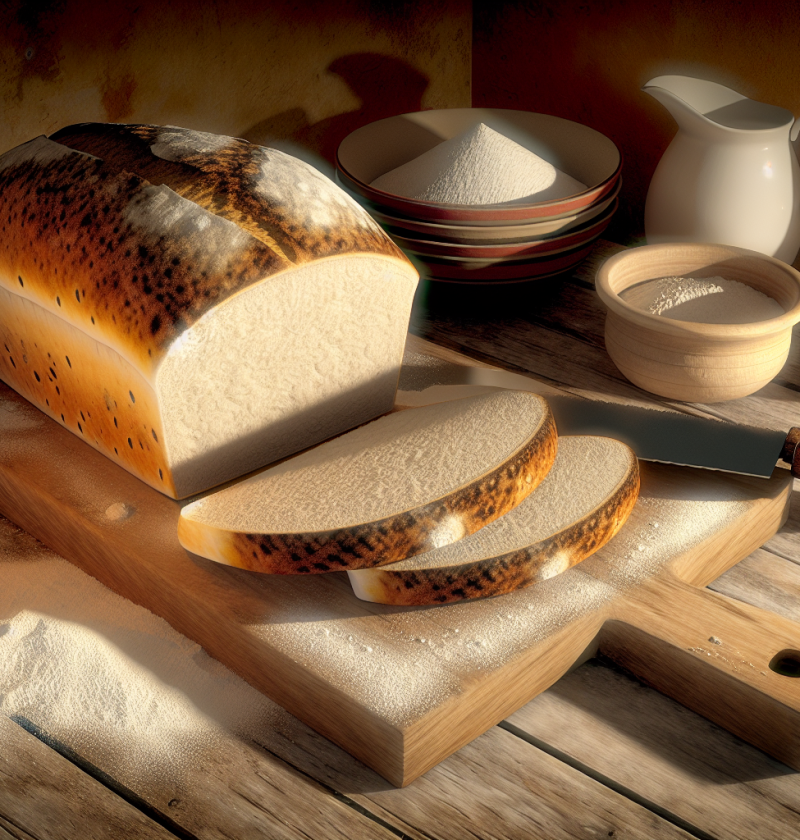
On average, a standard loaf contains about 20-24 slices, including the end pieces.
Can I use whole wheat or other types of flour?
Absolutely! You can substitute all-purpose flour with whole wheat, rye, or a blend of different flours to suit your taste and dietary needs.
Why didn’t my bread rise?
Possible reasons include the yeast being expired or the water used being too hot or too cold. Make sure the conditions are just right for the yeast to activate.
Can I bake bread in an Instant Pot?
You can use the Instant Pot for proofing the dough as it creates a warm, controlled environment, but baking will still need to be done in an oven.
How do I store homemade bread?
Store your bread in a cool, dry place in a bread box or wrapped in a clean cloth. Avoid storing it in the fridge to prevent it from drying out.
What’s the best way to freeze bread?
Slice the bread before freezing. Wrap it tightly in plastic wrap, then in aluminum foil, and place it in a freezer bag. It can last up to three months.
Can I add flavors like garlic or nuts?
Of course! Adding garlic, nuts, or even dried fruits can create delightful variations that bring a unique twist to your loaf.
How critical is the kneading process?
Very important. Kneading develops gluten, which gives the bread its structure and chewiness. Make sure to knead the dough thoroughly.
Why is my bread dense and not fluffy?
This can be due to under-kneading, insufficient yeast, or over-proofing. Ensure you follow each step carefully to achieve the perfect loaf.
Can I use a bread machine?
Yes, a bread machine can handle all the mixing, kneading, and initial rise. Simply add the ingredients in the recommended order and let the machine do the work.
Do give this recipe a try, and I guarantee the result will be worth every effort. Share your homemade bread adventures on social media and spread the joy to your friends and family! Happy baking!
“`