“`html
Irresistibly Crispy Olive Oil Fried Chicken to Satisfy Your Taste Buds!
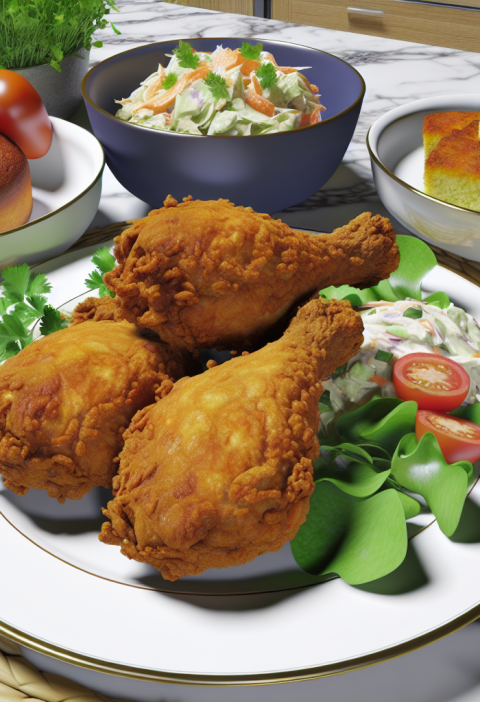
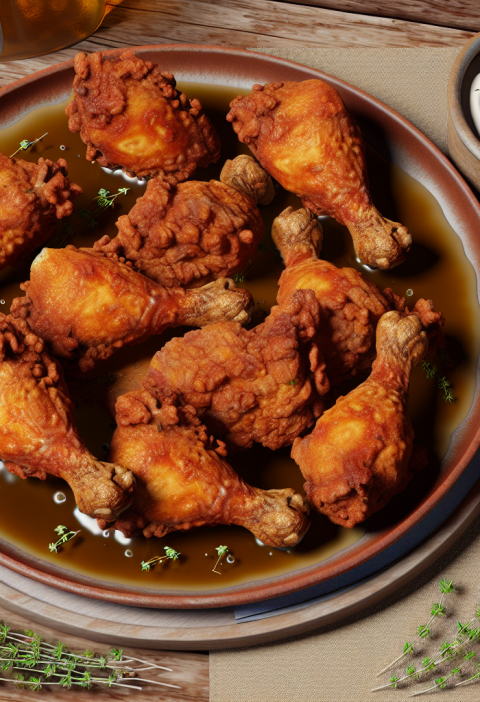
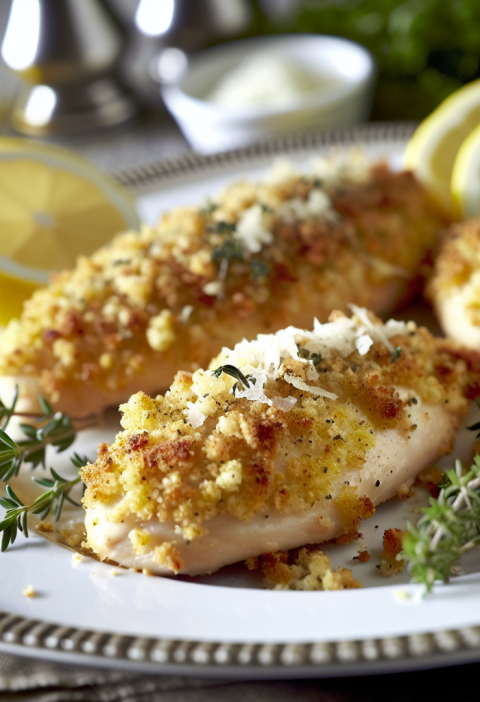
Imagine biting into a piece of perfectly golden-brown fried chicken, its crust crackling with a delightful crunch and tender, juicy meat that practically melts in your mouth. This is not just any fried chicken; this is a culinary experience that brings warmth to your kitchen and joy to your dining table. It’s a dish that speaks to both comfort and indulgence, ideal for gatherings with loved ones or a cozy family dinner. Your taste buds are in for a treat with this olive oil variant, promising a healthier spin while still delivering robust flavors. Let’s bring this comforting dish to life!
Preparation Time
- Prep Time: 30 minutes
- Marinating Time: 2 hours (or overnight for best results)
- Cooking Time: 30 minutes
This recipe serves approximately 4 people and is rated as medium difficulty. However, don’t be intimidated! With some patience and attention, everyone can master this crowd-pleaser.
Necessary Ingredients
- 4 pieces of chicken (drumsticks, thighs, or breasts)
- 1 cup of buttermilk (or plant-based milk for a vegan option)
- 1 teaspoon garlic powder
- 1 teaspoon onion powder
- 1 teaspoon smoked paprika
- 1 teaspoon black pepper
- 1 teaspoon salt (more to taste)
- 1 cup of all-purpose flour (or gluten-free flour for a gluten-free version)
- Olive oil for frying (about 1-2 cups depending on your method)
- Optional: fresh herbs like rosemary or thyme for added flavor
You can easily swap the buttermilk with vegan alternatives, making this dish a delightful option for plant-based eaters. Additionally, using gluten-free flour ensures that friends with dietary restrictions can enjoy the crispy goodness!
Steps of Preparation
Follow these steps for a delectable dish that will leave everyone asking for seconds!
- Begin by marinating the chicken. In a large bowl, combine the buttermilk, garlic powder, onion powder, smoked paprika, black pepper, and salt.
- Add the chicken pieces to the buttermilk mixture, ensuring they’re thoroughly coated. Cover the bowl and refrigerate for at least 2 hours, or preferably overnight.
- Set up your breading station. In a shallow dish, add the flour mixed with a pinch of salt.
- Remove the chicken from the fridge, and let any excess buttermilk drip off before dredging them in the flour, ensuring an even coating.
- Heat the olive oil in a large skillet over medium-high heat (or prepare your air fryer, Ninja Foodi, or oven at 375°F). You want the oil to be hot, typically around 350°F for frying.
- Carefully add a few pieces of chicken to the hot oil, ensuring not to overcrowd the pan.
- Fry the chicken for about 6-8 minutes on each side until golden brown and crispy. If using an air fryer, cook for about 25-30 minutes, flipping halfway through.
- Once cooked, transfer the chicken to a plate lined with paper towels to absorb excess oil.
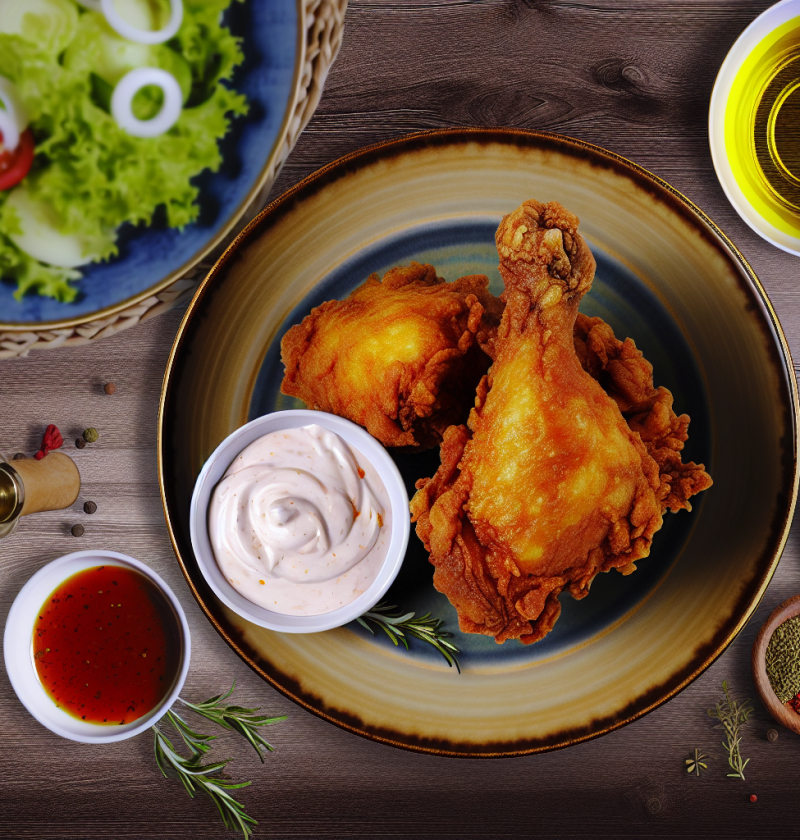
- Serve immediately with your favorite dipping sauce and enjoy the crispy delight!
Nutritional Benefits
- Olive oil is rich in healthy monounsaturated fats, which help lower bad cholesterol levels.
- Chicken is an excellent source of lean protein, essential for muscle growth and repair.
- Spices like paprika and garlic bring flavor without added calories and provide antioxidant benefits.
- Using buttermilk or plant-based milk enhances moisture and tenderness in chicken without excess fat.
- This meal can be nutrient-dense when balanced with sides like a fresh salad or whole grains.
There are always ways to take this recipe to the next level! Consider mixing in some cayenne pepper for heat or add a touch of honey to the marinade for a sweet twist. You could also toss some lemon juice into the buttermilk for a zesty kick.
Possible Additions or Upgrades
- Pair with a refreshing coleslaw for a crunchy contrast.
- Serve with homemade biscuits for a hearty meal.
- Top with a drizzle of honey or hot sauce for a sweet and spicy finish.
- Experiment with different herbs in the marinade for unique flavor profiles.
- Incorporate veggies like bell peppers and zucchini in the frying process for a full meal.
Frequently Asked Questions
**Can I use frozen chicken for this recipe?**
Yes, but it’s best to thaw it first to ensure even cooking.
**What if I don’t have buttermilk?**
You can make a substitute with milk and a tablespoon of vinegar or lemon juice.
**Can I use skinless chicken?**
Absolutely! Skinless chicken will be slightly less crispy but still delicious.
**What are alternative frying methods?**
You can air fry, bake in the oven, or even use a pressure cooker like an Instant Pot (then crisp it up in the oven).
**How can I make this dish gluten-free?**
Use gluten-free flour as a substitute for regular flour and ensure other condiments are free from gluten.
**How long does the marinade need to sit?**
A minimum of 2 hours is best; overnight is ideal for maximum flavor and tenderness.
**Can leftovers be reheated?**
Definitely! Crisp them up in an air fryer or oven for best results.
**Is it necessary to use olive oil?**
While olive oil adds a unique flavor, other oils can work too – just ensure they’re suitable for frying.
**What sides pair well with this fried chicken?**
This chicken goes great with mashed potatoes, corn on the cob, or a light salad.
**Can I add hot sauce to the marinade?**
Yes! It adds a lovely kick. Adjust to your spice tolerance.
This recipe evokes cherished memories of family meals, where laughter and good food unite. I encourage you to try this simple yet flavorful dish, share it with friends and family, and watch as it becomes a staple in your kitchen. Don’t forget to spread the joy by sharing this recipe on your social networks!
“`