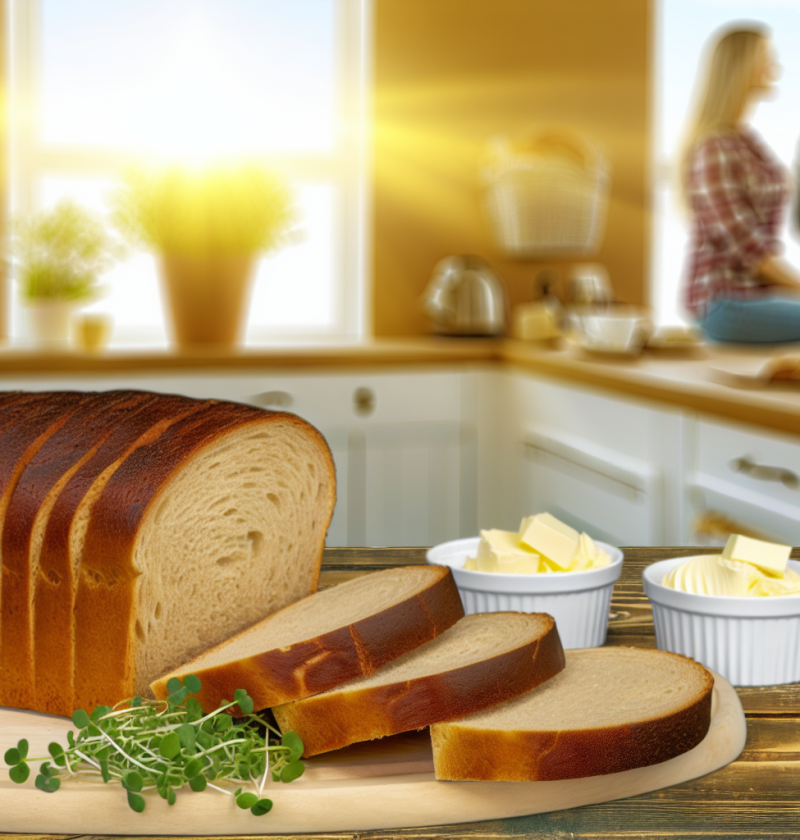
The Ultimate Guide to Perfectly Sliced Bread: Discover the Secrets Behind the Average Number of Slices in a Loaf!
Do you ever wonder how many slices of joy you can yield from a single loaf of bread? The answer isn’t just about counting; it’s about savoring the transformations of basic ingredients into warm, crusty happiness that fills your home with delightful aromas. This recipe invites you to embrace the art of bread-making, whether for toast in the morning, sandwiches for lunch, or simply enjoying with a pat of butter at dinner. Get ready to knead, let rise, and slice your way into a new baking adventure that’s simply irresistible!
Preparation Time
- Preparation: 15 minutes
- Resting/Proofing: 1 hour 30 minutes
- Baking: 30 minutes
- Total: 2 hours 15 minutes
This recipe is perfect for serving 8-12 people, depending on how generous you decide to be with those slices! Also, fear not—this is an easy recipe, perfect for bakers of all skill levels.
Necessary Ingredients
- 3 cups all-purpose flour (you can substitute with whole wheat or gluten-free flour)
- 1 packet (2 1/4 teaspoons) active dry yeast
- 1 tablespoon sugar (use agave syrup for a vegan option)
- 1 tablespoon salt
- 1 cup warm water (about 110°F; or use almond milk for a dairy-free touch)
- 2 tablespoons olive oil (extra virgin for flavor)
In my experience, using high-quality ingredients greatly enhances the final flavor of the bread. This flexibility allows everyone, from gluten-intolerant friends to plant-based eaters, to indulge in this delicious treat without worry.
The Steps of Preparation
Now let’s get down to the actual magic of bread-making. Follow these steps to create a delightful loaf that beckons for a place at your table.
- In a large mixing bowl, combine the warm water and sugar. Sprinkle in the active dry yeast and let it sit for 5-10 minutes until frothy.
- Add the olive oil and salt to the yeast mixture, stirring gently.
- Gradually incorporate the flour, one cup at a time, mixing until a dough begins to form.
- Transfer the dough to a floured surface and knead for about 8-10 minutes until smooth and elastic.
- Form the kneaded dough into a ball and place it in a greased bowl, covering it with a damp cloth. Allow it to rest in a warm area for 1 hour or until doubled in size.
- Once the dough has risen, punch it down gently and turn it out onto a floured surface.
- Shape the dough into a loaf by flattening it and rolling it tightly. Pinch the seam closed and tuck the ends under.
- Place the shaped loaf into a greased 9×5-inch loaf pan. Cover and allow it to rise for another 30 minutes.
- Preheat your oven to 350°F (175°C). Once the loaf has risen again, place it in the oven and bake for 30 minutes or until golden brown.
- Remove from the oven and let cool in the pan for 10 minutes before transferring to a wire rack to cool completely.
Nutritional Benefits
- Whole wheat flour provides higher fiber content, promoting digestive health.
- Olive oil contains healthy monounsaturated fats, beneficial for heart health.
- Active dry yeast can boost gut health by introducing probiotics into your system.
- Making your own bread offers control over sugar and salt levels, tailoring nutrition to your needs.
Now that you’ve created a wonderfully balanced loaf, think about what extras you might want to explore!
Possible Additions or Upgrades
Feel free to get creative! You might try:
- Incorporating herbs (like rosemary or thyme) for an aromatic twist.
- Adding seeds (such as sesame or sunflower) for crunch and additional nutrients.
- Swapping in dried fruits (like cranberries or raisins) for a sweet surprise.
- Experimenting with spices (like cinnamon or nutmeg) for a unique flavor profile.
Each of these choices elevates your bread experience to a personalized masterpiece!
Common Questions and Answers
How can I make this recipe gluten-free?
You can replace all-purpose flour with a gluten-free mix designed for baking, ensuring the addition of xanthan gum if your mix does not contain it.
What if my dough doesn’t rise?
Make sure your yeast is fresh. If your environment is too cold, consider moving it to a warmer spot or using the oven’s warm setting.
Can I use instant yeast instead of active dry yeast?
Absolutely! Just mix it directly with the flour, skipping the frothing step.
How long does this bread last?
Typically, homemade bread lasts about 3-5 days at room temperature in a sealed container. For longer storage, consider freezing it.
Can I add milk instead of water?
Yes, using milk will create a richer loaf. Whole or non-dairy alternatives will work well too!
What’s the best way to slice the bread?
Using a serrated knife yields the best results. Slice it while it is completely cool for cleaner cuts.
How do I make it crustier?
For a crustier exterior, place a pan of water in the oven while baking, or brush the top of the loaf with water before it goes in.
Can I double the recipe?
Certainly! Just ensure you have enough space for rising and baking.
How do I know when my bread is done baking?
It should be golden brown and sound hollow when tapped on the bottom. An internal temperature about 190°F is ideal.
What should I do if my dough is too sticky?
Add a bit more flour, but be cautious not to overdo it. It should be soft but manageable.
Now, having basked in the jubilant experience of home-baked bread, I urge you to share this delight on social networks! Sharing homemade recipes spreads the love and inspires others to join in the joy of baking. Let’s fill the world with the heartwarming aroma of fresh bread together!