“`html
The Ultimate Guide to Perfectly Slicing Your Loaf
Have you ever found yourself staring at a loaf of bread, wondering the exact number of slices it will yield? It’s a delightful puzzle, one that goes beyond mere math. The answers may surprise you! Not only will you discover how many slices you can expect, but I also invite you to make that loaf of bread even more magical by preparing it yourself. The texture, the aroma, and the endearing memories that arise from sharing warm, freshly baked bread with loved ones are moments I cherish deeply. So, let’s delve into the world of bread slicing where the right technique will bring out the best of your loaf! This recipe is not just about bread; it’s about creating bonds, fostering warmth, and infusing joy into our meals.
Preparation Time
- Preparation Time: 15 minutes
- Baking Time: 30 minutes
- Total Time: 45 minutes
This recipe serves 8-10 people and can be deemed easy in terms of preparation. You’ll be surprised at how simple it is to create a loaf that will bring happiness to your table.
The Necessary Ingredients
- 4 cups all-purpose flour (or gluten-free flour for a gluten-free option)
- 2 tablespoons sugar (can substitute with maple syrup or agave for a vegan version)
- 1 teaspoon salt
- 1 packet active dry yeast (or instant yeast)
- 1 ½ cups warm water (about 110°F)
- 2 tablespoons olive oil (optional)
- 1 teaspoon apple cider vinegar (for a fluffier loaf)
If you wish to make it vegan, simply replace the sugar with a plant-based sweetener such as coconut sugar. For a whole grain option, you might consider using whole wheat flour or a mix of whole wheat and all-purpose flour. Remember, the beauty lies in your choices, and with variations, the loaf will still be spectacular!
The Steps of Preparation
With each step, feel yourself becoming more connected to the process. The kneading, the waiting for the dough to rise – it’s meditative and rewarding.
- In a large mixing bowl, combine the warm water, sugar, and yeast. Allow it to sit for about 5-10 minutes until it becomes frothy.
- Add the flour and salt to the yeast mixture. Stir with a wooden spoon until a rough dough forms.
- Transfer the dough to a lightly floured surface and knead it for about 8-10 minutes, until smooth and elastic.
- Grease a bowl with olive oil and place the dough inside, covering it with a damp cloth. Let it rise in a warm place for about 1 hour, or until it has doubled in size.
- Punch down the dough gently and shape it into a loaf. Place it in a greased loaf pan.
- Cover again with the cloth and let it rise for another 30-40 minutes.
- Preheat your oven to 375°F (190°C).
- Bake the loaf for 30 minutes, or until golden brown and sounds hollow when tapped.
- Remove from the oven and let it cool in the pan for 10 minutes. Then, transfer it to a wire rack to cool completely.
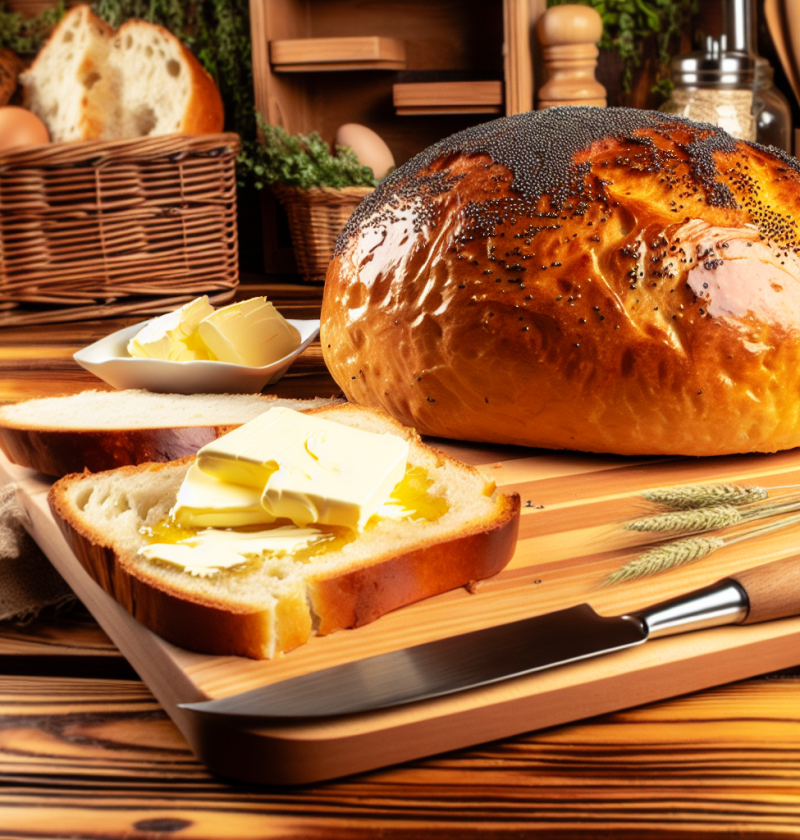
- Once cool, use a serrated knife to slice your bread.
Nutritional Benefits
- Whole grain options are rich in dietary fiber, promoting digestive health.
- Low sugar ingredients help regulate blood sugar levels, providing a sustained energy release.
- Olive oil, known for its healthy fats, supports cardiovascular health.
- Homemade bread is free from preservatives, offering a cleaner, fresher option.
- Using apple cider vinegar can improve gut health and nutrient absorption.
Once you have perfected the basic recipe, the world is your oyster when it comes to variations and upgrades. Consider adding seeds, nuts, or dried fruit for a delightful texture and flavor. Herbs like rosemary or thyme can elevate the experience even more!
Your Creative Additions
- Seeds: Add chia, flax, or pumpkin seeds for extra crunch and nutrition.
- Nuts: Chopped walnuts or almonds can add a satisfying bite.
- Spices: Incorporate herbs or spices like garlic powder or caraway seeds for a unique flavor twist.
- Dried fruits: Raisins or cranberries for natural sweetness.
- Cheese: Adding shredded cheese can create a delectable savory bread.
As you embark on this baking journey, I’m here to remind you that making bread is not merely about following steps; it’s an experience imbued with creativity and tradition. I’ve crafted numerous loaves over the years, which have graced our family dinners—a true conversation starter and beloved centerpiece. I hope you relish your experience as much as I do!
Questions & Answers
**How can I tell if my bread is fully baked?**
I usually tap the bottom of the loaf with a finger; if it sounds hollow, it’s done!
**Can I use whole wheat flour instead?**
Absolutely! Just know it may need a little more water due to higher fiber content.
**What if my dough doesn’t rise?**
Make sure your yeast is fresh! If it’s old or inactive, it won’t give you that lovely lift.
**How to store my bread?**
Wrap it in a cloth and store it in a cool, dry place. For longer storage, consider freezing it.
**Can I add spices or herbs to the dough?**
Certainly! Add dried herbs or spices as you mix your flour for an aromatic punch.
**How many slices are in a standard loaf?**
Typically, you’ll get about 12-15 slices, depending on your desired thickness.
**Can I make this in a bread machine?**
Yes! Just follow your machine’s instructions for adding ingredients and setting the cycle.
**Is this recipe suitable for beginners?**
Absolutely! It’s simple and forgiving, making it perfect for first-time bakers.
**Can I use a different type of yeast?**
Yes, instant yeast can be used as a substitute; you can mix it directly with the flour.
**What do I do if I want to make smaller loaves?**
Simply divide the dough into smaller portions before baking, and adjust your baking time accordingly.
If you’ve enjoyed this journey of bread-making as much as I do, please share this recipe with your friends and family! Together, let’s spread the joy of creating delicious homemade bread!
“`