“`html
The Creamy Delight: Milkshakes Without a Blender!
Imagine a world where the creamy, velvety texture of a homemade milkshake is just a few steps away—without the need for a blender! I’m excited to share this recipe that brings joy and satisfaction to your taste buds, while allowing you to revel in the art of mixing by hand. From my experience, the anticipation of crafting this delightful treat sparks joy, especially on warm summer afternoons or cozy movie nights with loved ones. Plus, it’s an uncomplicated process that requires minimal kitchen tools and ingredients! With a little creativity and enthusiasm, you can whip up a milkshake that is sure to become a favorite in your household. This recipe is suitable for 2 servings, takes about 15 minutes to prepare, and is quite easy to make. Prepare to indulge!
Preparation Time
- Preparation time: 10 minutes
- Mixing time: 5 minutes
- Total time: 15 minutes
Necessary Ingredients
- 2 cups of milk (dairy or plant-based)
- 2 cups of your favorite ice cream (vanilla, chocolate, or any flavor you love)
- 2 tablespoons of chocolate or strawberry syrup (optional)
- Whipped cream for topping (optional)
- Additional toppings (sprinkles, nuts, crushed cookies, fruits, etc.)
For those seeking alternatives, simply swap in a dairy-free ice cream for a vegan version or use almond milk for a gluten-free twist. The beauty of this recipe is its flexibility; you can personalize it to suit dietary preferences and flavor inclinations!
Steps of Preparation
- In a large bowl, add your chosen ice cream.
- Pour in the milk, adjusting the amount for desired thickness.
- Use a sturdy spoon or spatula to mix the ice cream and milk together. Stir until smooth and creamy—don’t be alarmed by the resistance; just keep going with passion!
- If desired, add the chocolate or strawberry syrup and mix until combined.
- Pour the mixture into glasses, filling them to the brim.
- Top with whipped cream if you desire, and sprinkle your favorite toppings on top.
- Serve immediately and enjoy the smiles from those you share it with!
This method of preparing milkshakes by hand not only brings a sense of nostalgia but also fosters a heartwarming connection with family and friends. The experience of mixing by hand captures the essence of homemade goodness that instills warmth and joy in every sip!
Nutritional Benefits
- Milk is a great source of calcium and vitamin D, essential for strong bones and teeth.
- Ice cream, although a treat, can provide a modest amount of protein and energy.
- Using plant-based milk offers a lower calorie option and can be enriched with vitamins and minerals.
- Adding fruit as a topping increases your intake of vitamins, antioxidants, and dietary fiber.
These nutritional benefits make this milkshake not just delicious but a happy blend of indulgence and nutrition, perfect for any occasion!
Possible Additions or Upgrades
Feeling adventurous? Here are several options to elevate your milkshake experience:
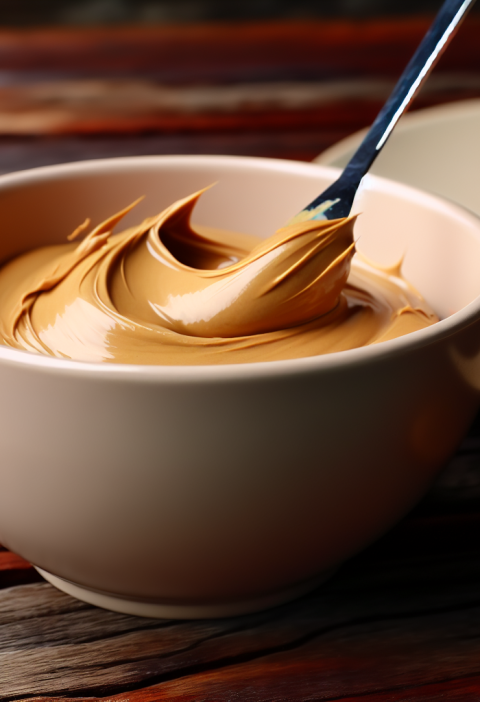
- Mix in a spoonful of peanut butter or Nutella for a rich, nutty flavor.
- Try adding a frozen banana for a creamier texture.
- Include protein powder for a post-workout recovery treat.
- Experiment with flavors by adding a splash of vanilla extract or a sprinkle of cinnamon.
- Blend in a handful of spinach for an unexpected nutritional boost.
The great thing about these milkshakes is that they can be customized to your heart’s content! Don’t hesitate to get your creative juices flowing and mix in your favorite flavors!
Q&A
**Can I use low-fat milk for this recipe?**
Yes, absolutely! Low-fat milk can still create a delicious milkshake while reducing calories.
**Is it possible to make a shake without ice cream?**
Certainly! You can use frozen yogurt, a banana, or even a blend of nuts and almond milk for a creamy texture.
**How can I make this vegan-friendly?**
Simply replace regular ice cream with a dairy-free variety and use almond or coconut milk.
**What if I want a thicker shake?**
You can add more ice cream or use less milk to achieve a thicker consistency.
**Can I make milkshakes ahead of time?**
While they are best enjoyed fresh, you can prepare the base ahead and store it in the refrigerator for a short period.
**What toppings do you recommend?**
My favorites are whipped cream, caramel drizzle, or crushed cookies for a delightful crunch!
**How long can I store leftovers?**
If you happen to have leftovers, keep them in the freezer for up to 2 days, but the texture may change slightly.
**Can I use flavored milk?**
Yes! Flavored milk like chocolate or strawberry can add a delightful twist to your shake.
**What makes the best milkshake flavor?**
Ultimately, it depends on personal preference! Vanilla, chocolate, and cookies and cream are classic favorites.
**Can I add coffee to this milkshake?**
Absolutely! Adding a shot of espresso or cold brew will create a rich, indulgent café-inspired shake.
Indulging in this creamy delight is not just satisfying; it’s an experience filled with nostalgia, joy, and creativity that I hope you share with family and friends. Spread the love and share this recipe among your circles so others can join in the fun too!
“`


